Cellframe Hardware Node User Manual
Category: Guide
1. Connecting to the device
Cellframe Hardware Node is managed via ssh connection to the device. To connect, you will need a terminal that will allow you to execute CLI commands on the device remotely. If you are using Windows OS, Terminal or Powershell applications are suitable for this. There is also a dedicated Terminal application for macOS.
1.1 Turn on the device
Turn on the device using the power cable, and connect it to your router using an ethernet cable.
1.2 Find the local IP address of the hardware node
After the device is turned on, the router will give the device a local IP address. You need to find out this address using the router's web panel.
Usually, the range 192.168.X.X is used for local addresses, however, it may differ.
http://192.168.0.1/
http://192.168.1.1/
admin
admin
For more accurate data, please refer to your device's documentation.
Keep in mind that your router's IP address might be different!
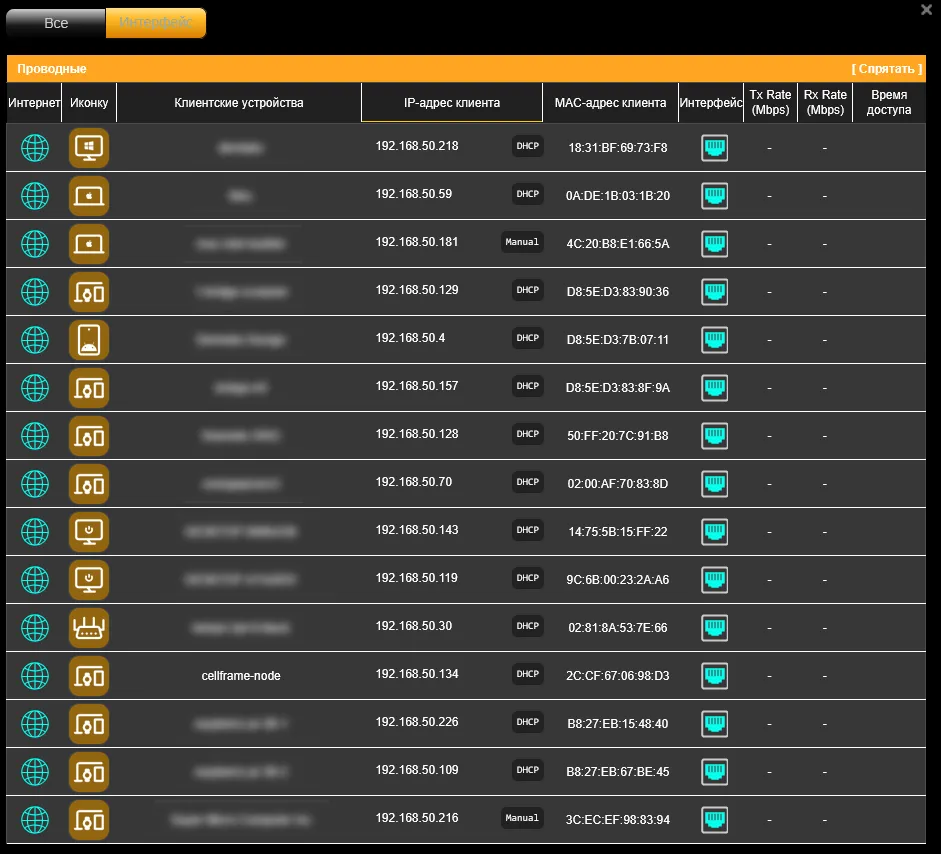
In the web panel of the router, open the list of clients and find the cellframe-node device in it.
An example of what it might look like:

1.3 Connecting to the device
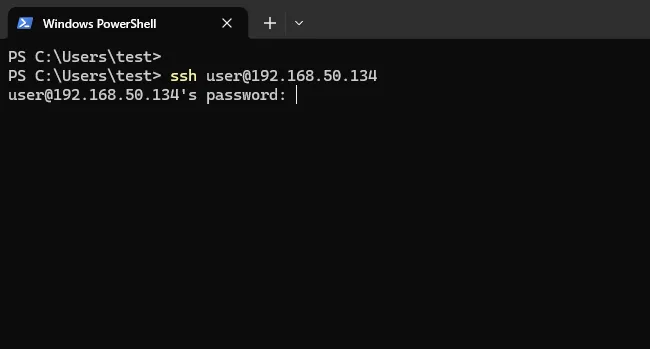
Open a Terminal and enter the command:
$ ssh user@<cellframe-node IP address>
You will need to enter a password when logging in.
The standard password for the user is: user
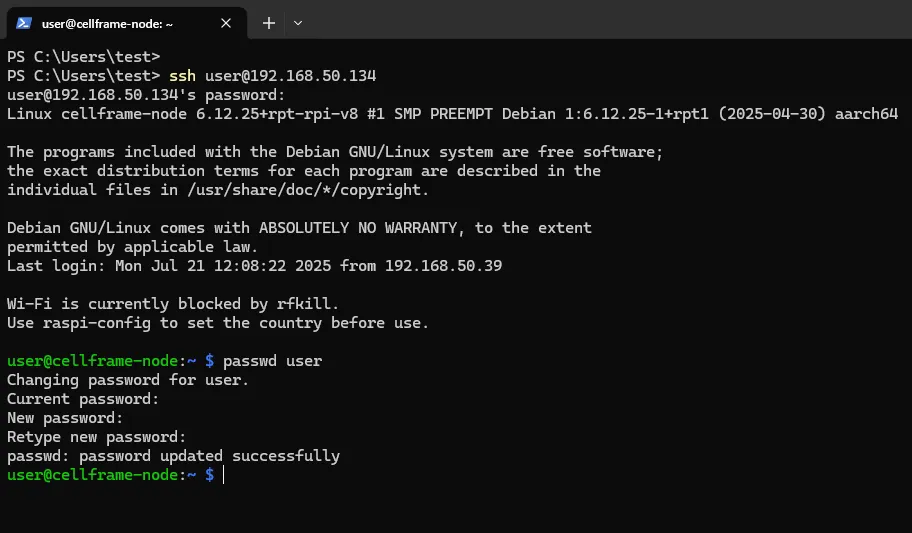
Example:

After connecting, you can change the password with the command:
$ passwd user

2. Configuring the masternode
The Cellframe Hardware Node can be used to run the masternode.
Please note that launching a masternode requires staking at least 10,000 CELL on the Cellframe Staking Platform. You will receive mCELL tokens, which will be locked for the duration of the masternode's operation (10 mCELL = 10,000 CELL).
All setup instructions are available on Cellframe Wiki:
• Automatic configuration using a CMI script
CMI (Cellframe Masternode Installer) script is a part of cellframe-tools package that is available through the Cellframe public fileserver. Link to download.
By prior arrangement with the Cellframe team, we can preconfigure the device to simplify the launch of the masternode.
3. Configuring a node to work with Cellframe Wallet
One of the ways to use the Cellframe hardware node is to use it as a remote device with a Cellframe Node for the Cellframe Wallets Remote mode.
Please note: if your device has a local IP, you will only be able to connect to it within the local network. In order to be able to connect to your node from anywhere, you need to get a white IP address.
To do this, create a cli-server.cfg configuration file in the directory:
/opt/cellframe-node/etc/cellframe-node.cfg.d/cli-server.cfg
# Console interface server
[cli-server]
enabled=true
listen-path=[../var/run/node_cli]
listen-address=[0.0.0.0:8081]
listen_unix_socket_permissions=777
allowed-cmd = [version, help, wallet, net, tx_history, mempool, mempool_add, poll, srv_xchange, stake_lock, net_srv, tx_create_json, block, ledger, token, json_datum_mempool_put]
allowed_cmd_control=true
"Allowed-cmd" — a list of allowed commands that can be executed remotely.
After creating the cli-server.cfg file, you need to restart the cellframe-node with the command:
$ sudo systemctl restart cellframe-node.service
After Сellframe Node finishes loading, specify the local IP address of the Hardware Node and port of the cli server in the Cellframe Wallet application and click on "Set" button.

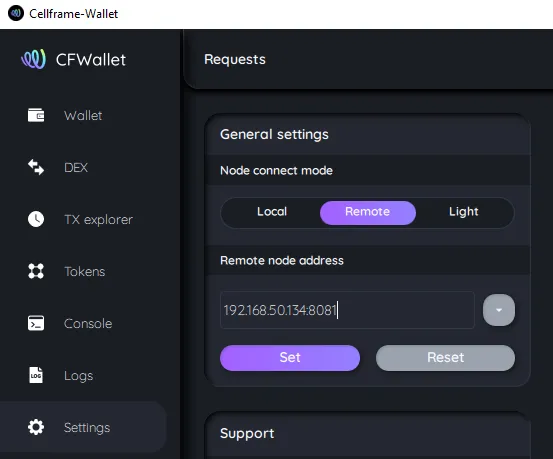
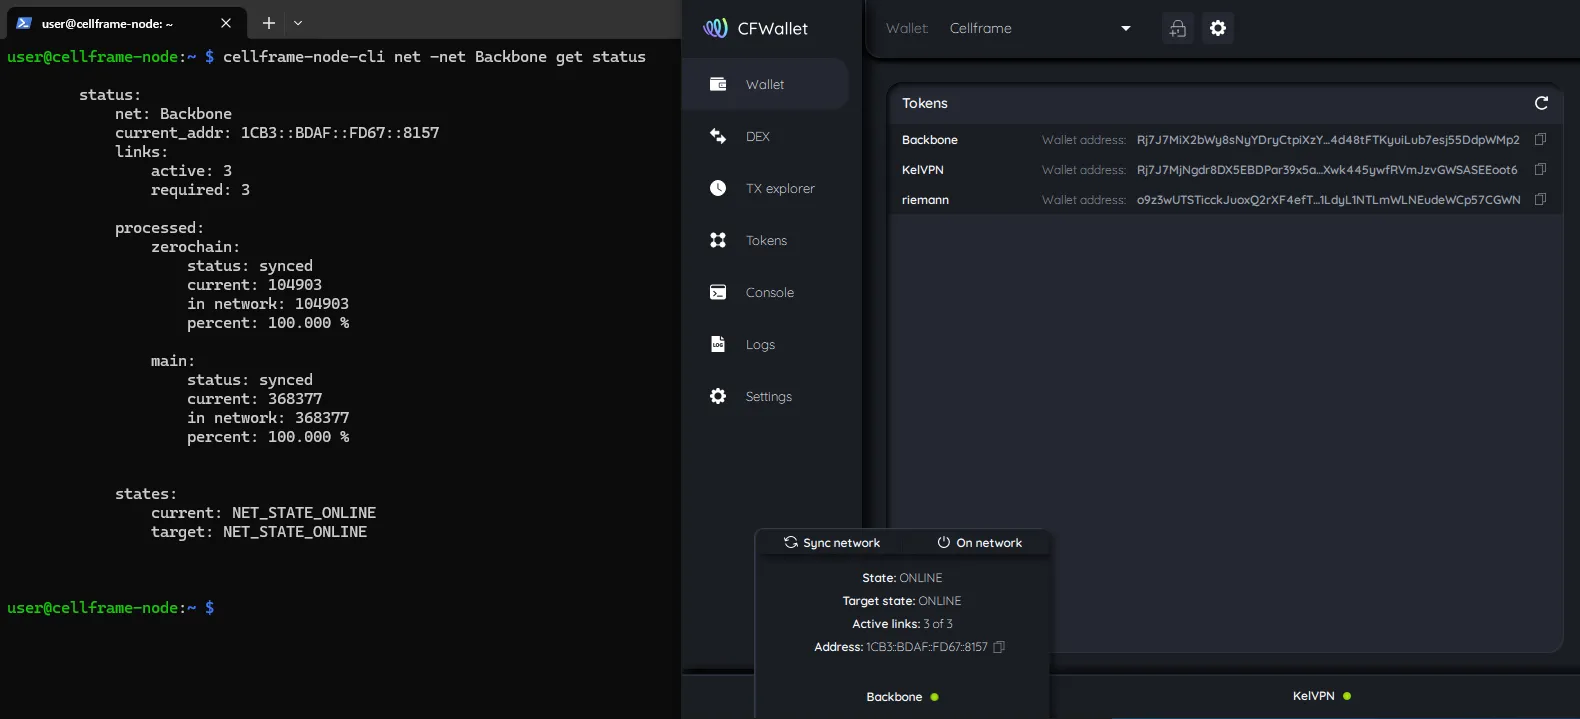
After that, the Cellframe Wallet application will work with the Cellframe Node running on the Cellframe Hardware Node.

Recent news
-
Cellframe Light Hardware Nodes: Shipment Now Live!
21 Jul 2025
-
Key events and updates in the Cellframe ecosystem: June highlights
10 Jul 2025
-
Cellframe NewsBlock. Episode 19
07 Jul 2025
-
Worklog. June results
03 Jul 2025